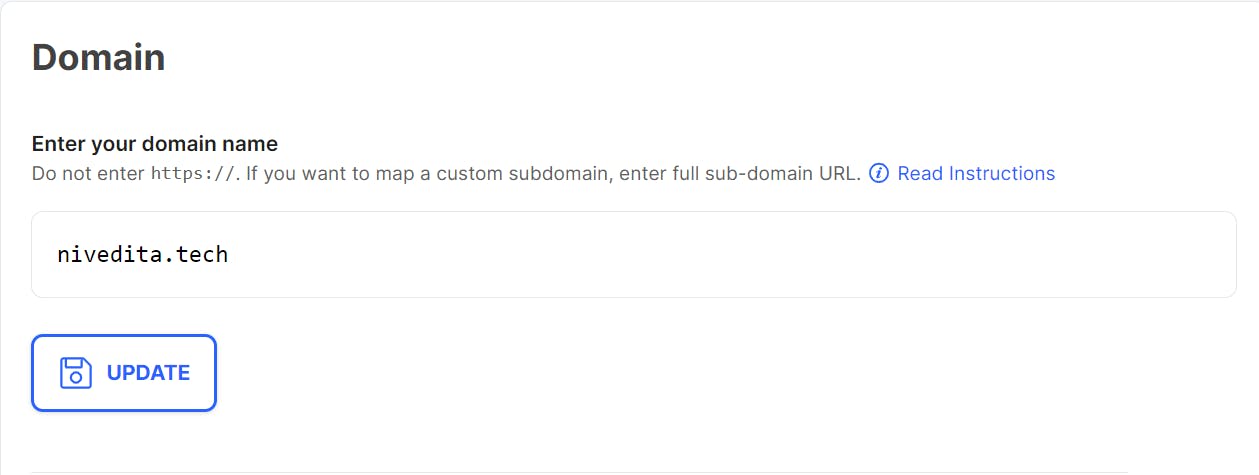
After I hosted my website on hashnode (https://nivedita.tech/how-i-hosted-my-website-for-the-price-of-a-coffee ) I could see that when I tried to access my website, it complained that the website is not safe and someone might be trying to steal the data.
So the next step was to make my website secure and one of the ways we can do that is to add an SSL certificate. An SSL certificate is a data file hosted at the website's origin server and contains information like the website's identity and the public key. Whenever someone wants to communicate with the website, they can request for the website's public key and send encrypted data.
So I knew the next step for me to make my website secure was to add SSL without spending much and that is how I stumbled upon Cloudflare. Cloudfare provides paid as well as free lifetime SSL certificate to websites and was the first website to provide free SSL/TLS encryption.
The free version of SSL shares SSL certificates among multiple customer domains. Cloudflare also offers customized SSL certificates for enterprise customers.
So here are the steps to get your SSL certificate:
1) Create a free account on cloudflare
2) Configure the domain

Add your domain name and click on scan. Cloudflare will fetch the existing dns info about your website from the hosting service.
3) Configure your website DNS records
Now we need to add CNAME record of hashnode to cloudflare. This is how the entry needs to be added. Make sure the entry is added as "DNS only"

4) We can now go ahead and select the free plan
5) We now need to update the nameserver in the domain provider dashboard (hostinger in my case)

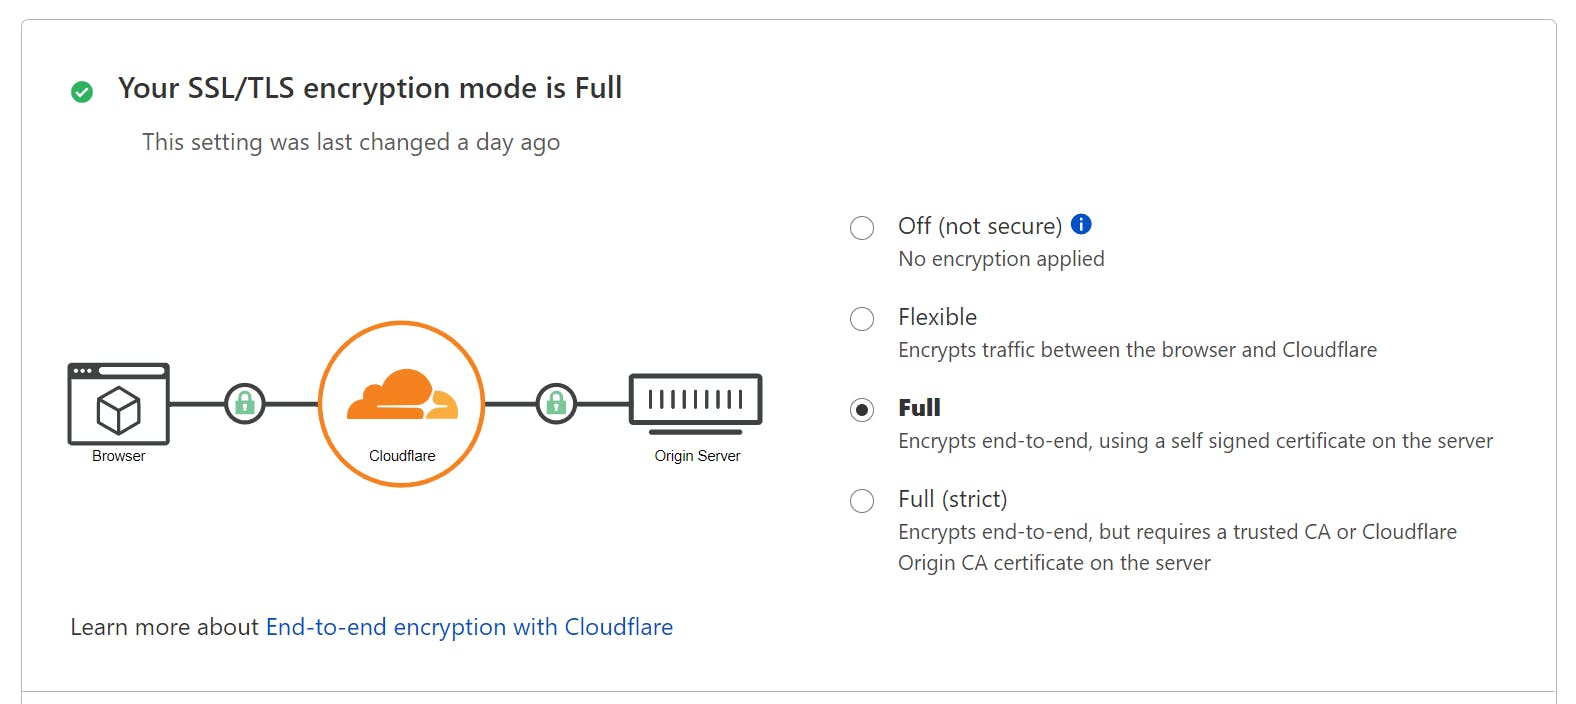
6) Setup the SSL mode on website

7) Last step is to redirect http to https

8) That's it, we're done

Enjoy free SSL on your website !

